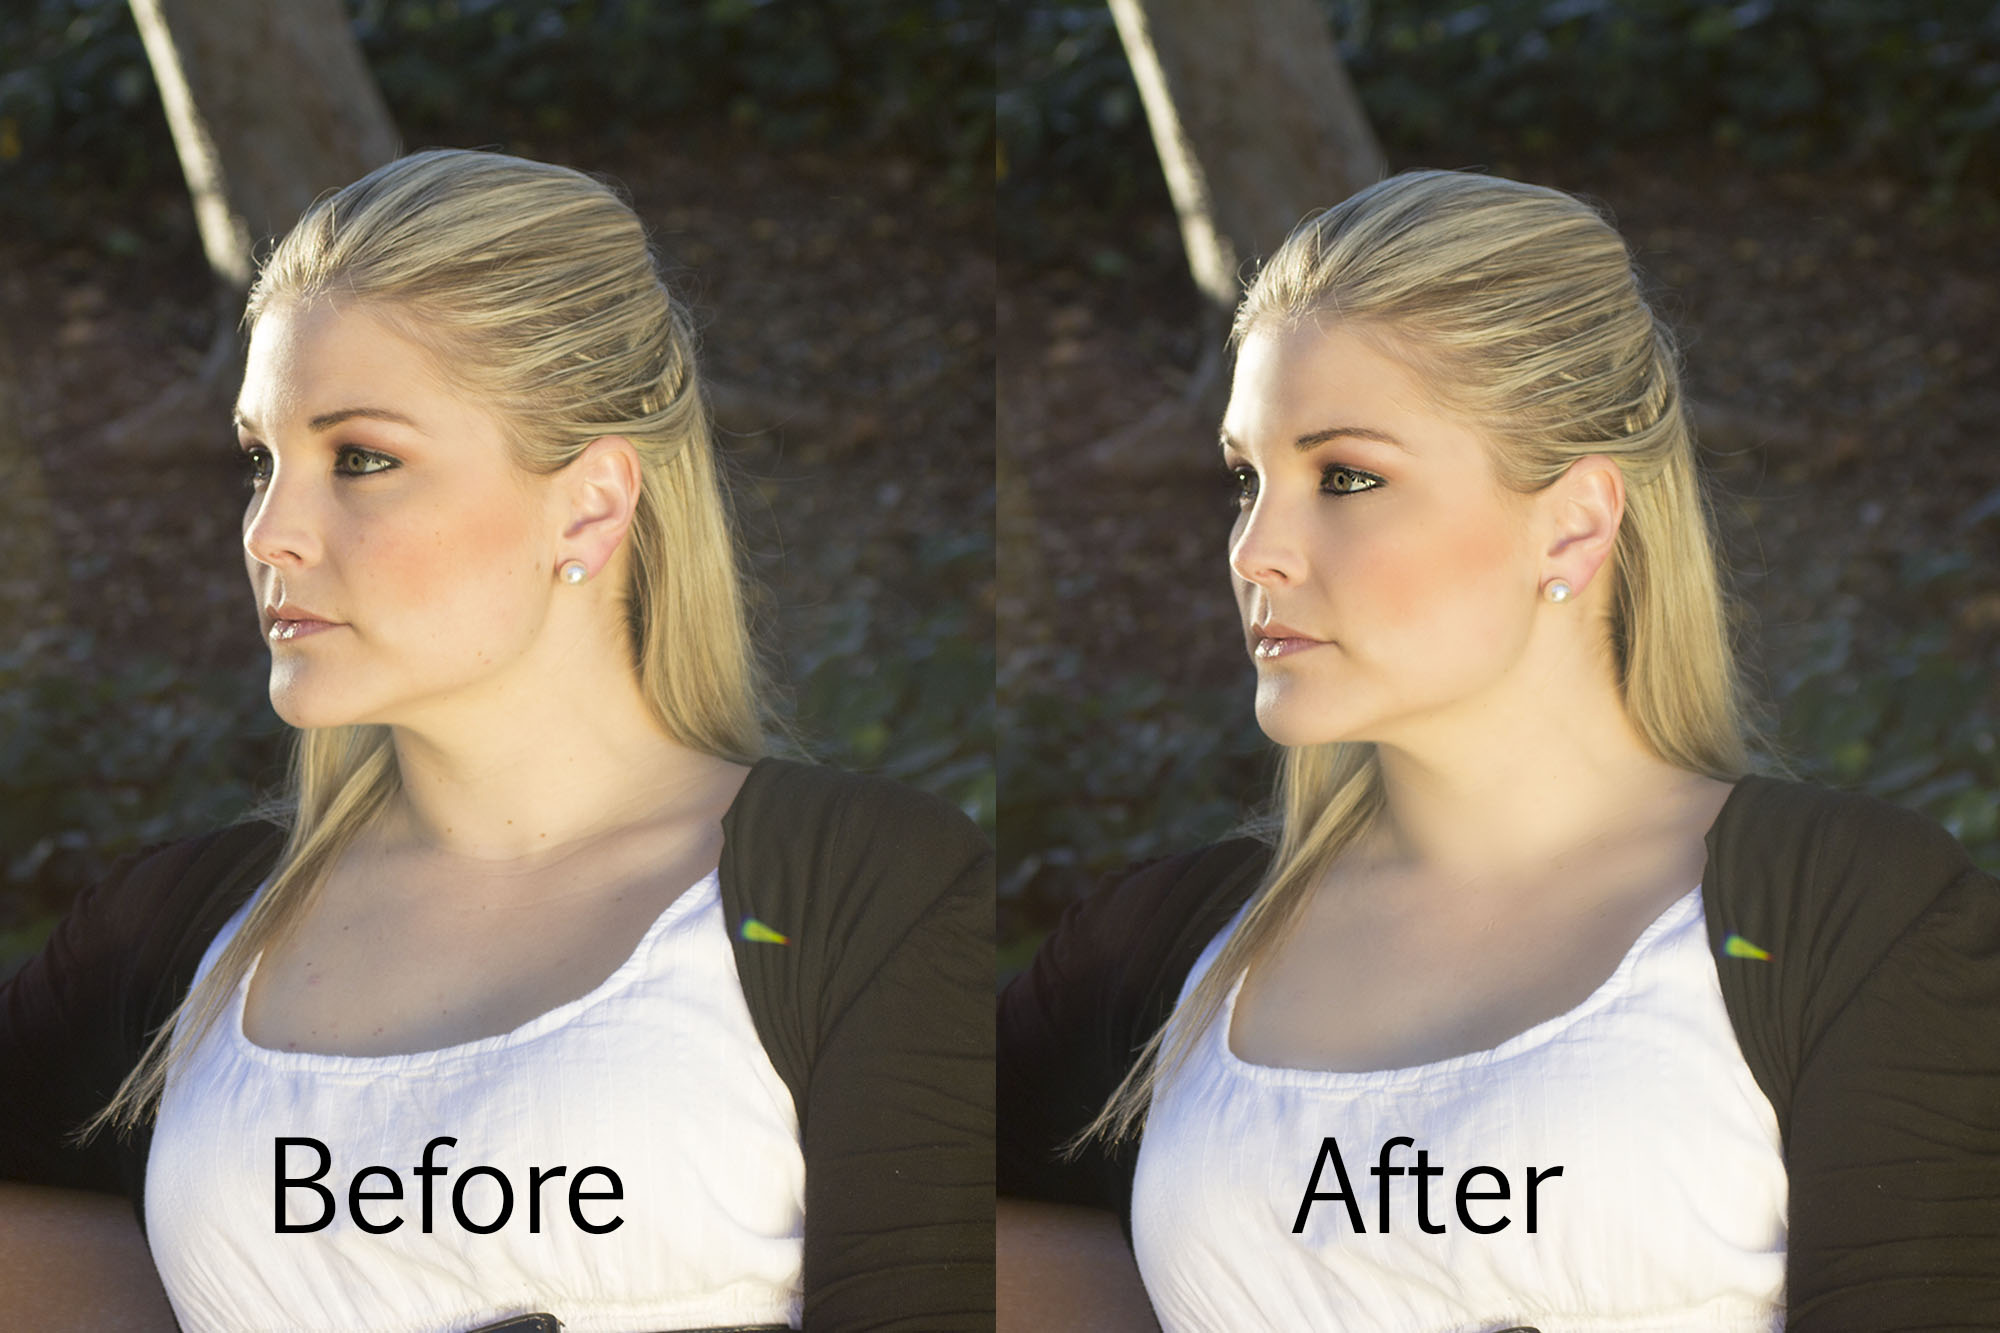
Photoshop Frequency Separation
Frequency separation is a method of splitting the tonal and detail out so you can adjust color without effecting texture, and adjust texture without effecting color. There are only a few steps to get started.
- Duplicate your image twice.
- Name the first (lower) duplicate as 'Tonal' or something else you will remember.
- Apply a gausian blur to the layer, adjusting the radius until the detail just starts to disappear. Usually from 5-10 will do.
- Name the second (upper) duplicate as 'Detail'
- Go to image->Apply Image
- Set Layer to 'Tonal'
- Set Blending Mode to Subtract
- Set Scale to 2
- Set Offset to 128
- Set Layer to 'Tonal'
- Set the 'Detail' layer mode to 'Linear Light'
- Group the 2 layers together
You can turn the group visibility on/off to see that there is no change.
Now you can start adjusting the skin tones using whatever tools you would like. The simplest way is to use the lasso tool (with a fairly large feather - I used a feather of 10-25. Select an area of similar tone you want to smooth out and simply apply a gausian blur to it.
Before Retouching

After

Side by Side


No Comments
Add a comment:
Subscribe to comments